Introduction
In the previous post, we completed a few basic things like - creating a free tier GCP account, a new project, service role, launched an instance etc.
Today, let’s look at creating a cloud function. These are similar to what AWS refers as Lambda functions.
Exercise
We will keep this fairly simple. It will involve
- Enable required googleapis to work with - like cloudfunctions, iam etc.
- Set up additional permissions for service-account
- Create a sample function
- Create the
terraformconfig necessary to deploy the function - Make the function endpoint public, to allow unauthenticated users to invoke it.
- Cleanup - delete all resources.
Steps
Let’s go through the steps to complete the aforementioned tasks.
1. Enable necessary APIs
As last time, the first step of working with any service in GCP is to enable it’s APIs.
1$ gcloud services enable cloudfunctions.googleapis.com
2$ gcloud services enable cloudbuild.googleapis.com
In case, you are not sure of the exact name of the api, use this command to fetch the entire list
1$ gcloud services list --available
2. Attach permissions to the service account
Allow access on cloudfunctions and iam by attaching roles to the service account
1$ gcloud projects add-iam-policy-binding tools-202011 --member serviceAccount:tools-service-account@tools-202011.iam.gserviceaccount.com --role roles/iam.serviceAccountUser
2
3$ gcloud projects add-iam-policy-binding tools-202011 --member serviceAccount:tools-service-account@tools-202011.iam.gserviceaccount.com --role roles/cloudfunctions.admin
3. Sample function
We will deploy a python3.7 function, which will return either “Hello World!” or “Hello (arg)!” depending on the request.
Source code is here
3. Terraform Config
Creating the terraform config is pretty similar to how you’d do it for AWS Lambda. We need a function resource, a bucket object resource which contains the source code and a zip resource which generates the zip at runtime.
For GCP, an additional config item is creating a new user and allowing it to invoke the function. This is necessary to allow unautheticated requests to invoke the function.
The terraform template is here
8. Run terraform
With all the prerequisites completed, we can now setup terraform to work with GCP.
As last time, we need to provide credentials to terraform. Export the environment variable GOOGLE_APPLICATION_CREDENTIALS=tools-service-account.json.
Now we can run the terraform commands to deploy our function.
1$ terraform init
2
3$ terraform apply
Type Yes when prompted. The function is deployed and the url to access it is displayed as output.
Next, validate the function.
9. Validate
We can validate what resources have been creating either from the console or gcloud cli. Use these command to verify the resources are created as expected -
Cloud Function created
1$ gcloud functions list
2NAME   STATUS  TRIGGER       REGION
3greet  ACTIVE  HTTP Trigger  us-central1
Storage bucket contains zip and terraform state file
1gsutil ls -r gs://tools-202011/*
2gs://tools-202011/fsource/:
3gs://tools-202011/fsource/greet_2011192345.zip
4
5gs://tools-202011/terraform/:
6
7gs://tools-202011/terraform/day1-state/:
8gs://tools-202011/terraform/day1-state/default.tfstate
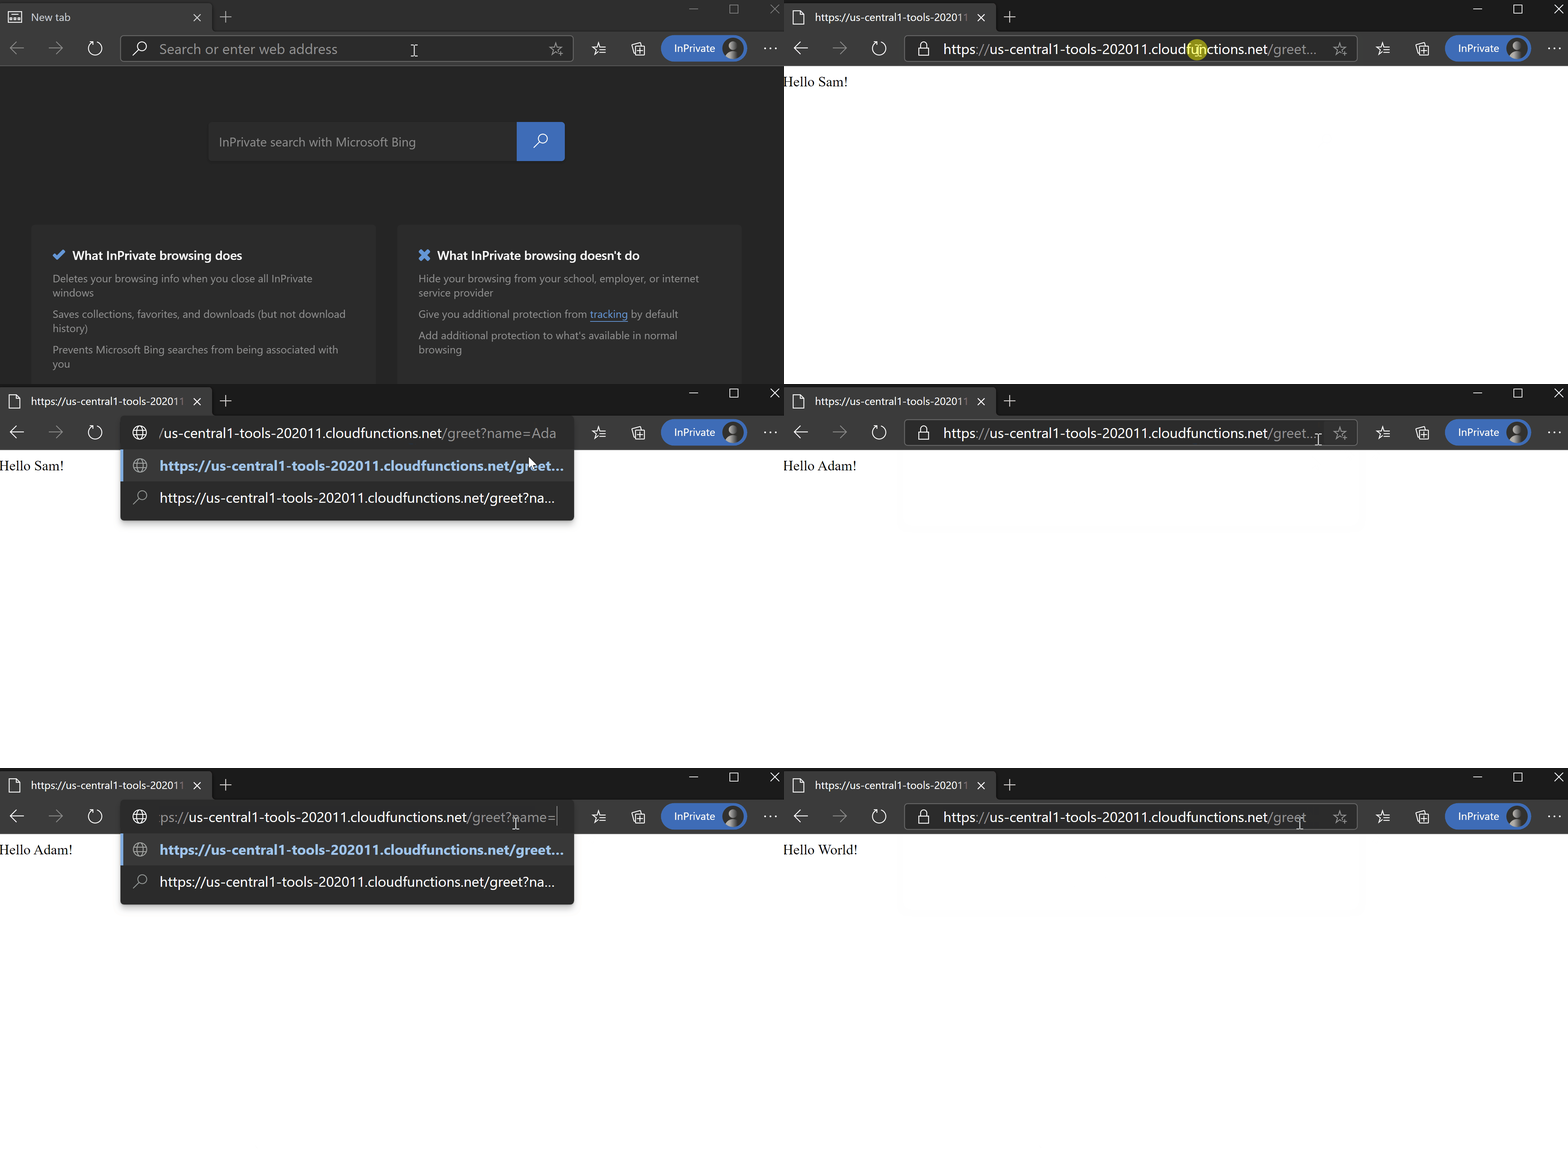
Finally, let’s access the function endpoint to validate functionality.
Using Curl (curl cheatsheet)
1$ curl https://us-central1-tools-202011.cloudfunctions.net/greet?name=sam
2Hello Sam!
3
4$ curl https://us-central1-tools-202011.cloudfunctions.net/greet
5Hello World!
6
7$ curl https://us-central1-tools-202011.cloudfunctions.net/greet?demo=1
8Hello World!
Using Browser

10. Cleanup
Remove all the resources created so far.
1$ terraform destroy --auto-approve
Conclusion
Serverless architectures are incredibly efficient and relatively maintenance free. Due to some of their inherent benefits, they have become extremely common, popular and even preffered for a lot of solutions.
Thus, a good understanding of services like “Cloud Functions” is crucial. Hope this post proves useful, and sets you on the path to exploring more. 👍
Note: Code mentioned above is here